
Using Quikrete for Parging: A Step-by-Step Guide
Introduction
Parging is a vital element of home maintenance that can significantly enhance both the aesthetic appeal and structural integrity of your property. One of the most popular materials for this purpose is Quikrete, known for its versatility and ease of use. If you're considering revitalizing your home's exterior with a fresh layer of parging, you've landed in the right place. This article serves as a comprehensive guide on Using Quikrete for Parging: A Step-by-Step Guide that will walk you through every aspect of the process, ensuring that you have all the information you need to achieve professional results.
What is Parging?
Parging refers to the process of applying a thin coat of mortar or cement to masonry walls, primarily for aesthetic enhancement and protection against moisture. This technique can be seen in various settings, including residential homes and commercial buildings.
The Purpose of Parging
- Aesthetic Appeal: A well-applied parging layer can give your home a refreshed look.
- Moisture Barrier: Parging acts as a barrier against water infiltration, helping to prevent damage.
- Surface Protection: It protects underlying masonry from freeze-thaw cycles and other environmental stressors.
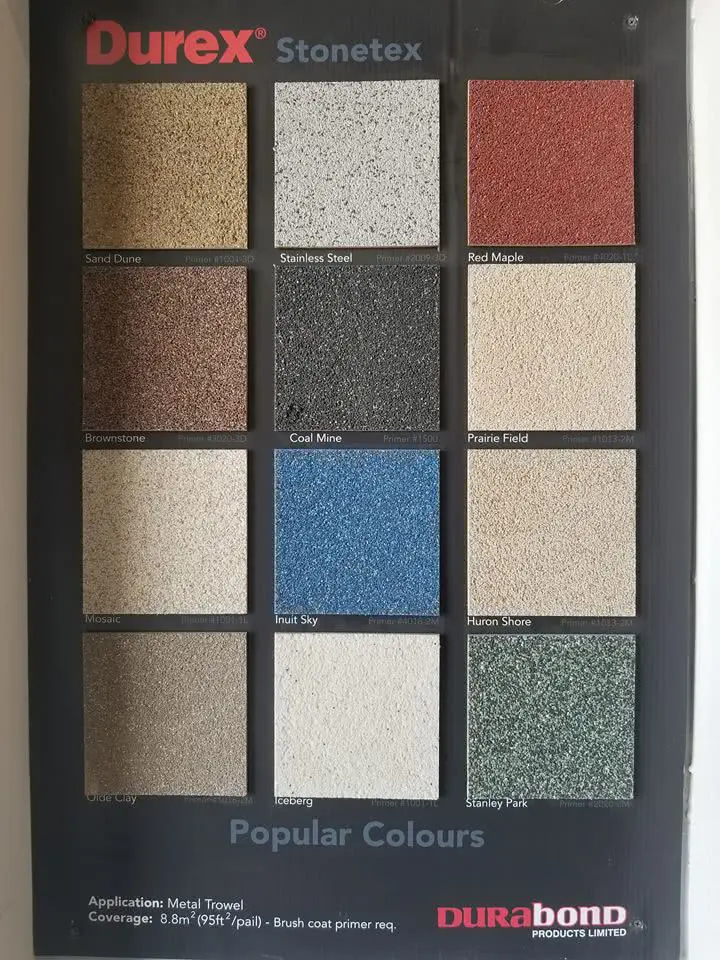
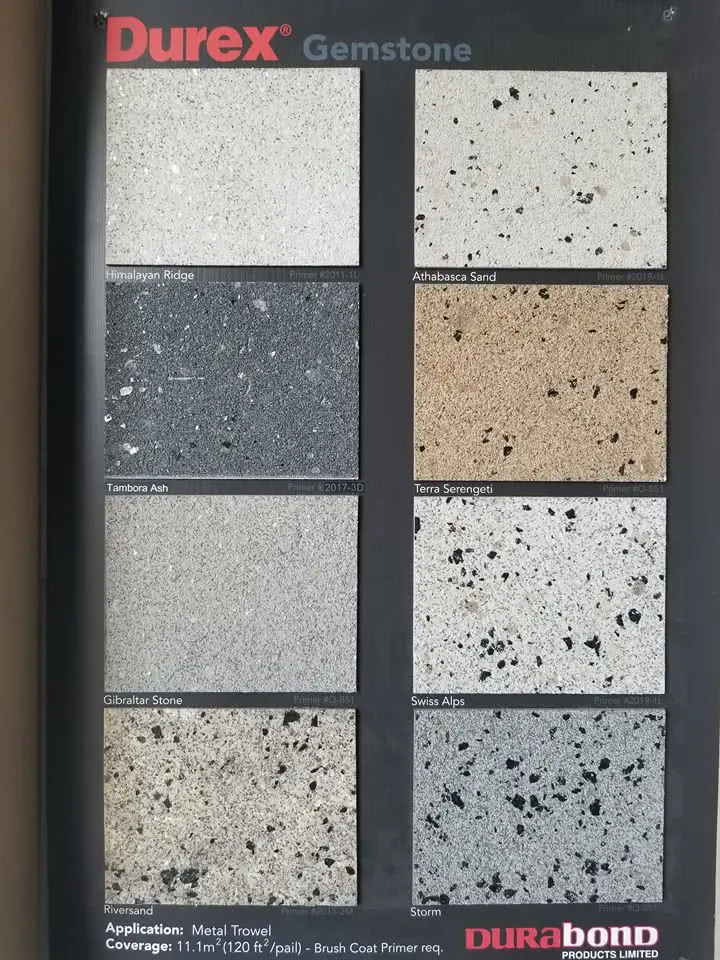
Common Materials Used for Parging
While there are several materials available for parging, Quikrete stands out due to its ease of application and durability. Other options include traditional cement mixes, acrylic stucco, and specialized parging cement.
Benefits of Using Quikrete for Parging
When it comes to choosing the right material for parging, Quikrete offers several advantages:
1. Ease of Use
Quikrete products come pre-mixed or in easy-to-mix forms, making them user-friendly even for DIY enthusiasts.
2. Versatility
It can be used on various eifs surfaces including concrete blocks, brick, and stone.
3. Durability
Quikrete is designed to withstand harsh weather conditions, making it suitable for both interior and exterior applications.
4. Cost-Effective
Compared to hiring a masonry contractor, doing it yourself with Quikrete can save you money while still providing excellent results.
Preparing Your Surface for Parging
Before diving into the application process, preparation is key.
Step 1: Inspect Your Walls
Look for any signs of damage such as cracks or chips that may require repair before applying parging cement.
Step 2: Clean the Surface
Remove dirt, algae, or old paint using a pressure washer or scrub brush. A clean surface ensures better adhesion.
Step 3: Repair Any Damage
Use appropriate materials like epoxy or hydraulic cement to fill in larger cracks or holes.
Tools Required for Parging with Quikrete
Before starting your project, make sure you have all necessary tools at hand:
- Trowel
- Mixing bucket
- Margin trowel
- Sponge
- Hawk
- Water source
- Safety goggles
Mixing Quikrete for Parging
To achieve optimal results with your parging project:
Step 1: Follow Product Instructions
Always refer to the instructions provided on the packaging. This ensures proper consistency and performance.
Step 2: Combine Ingredients Carefully
If you're working with dry mix, add water gradually until you reach a smooth but thick consistency resembling peanut butter.
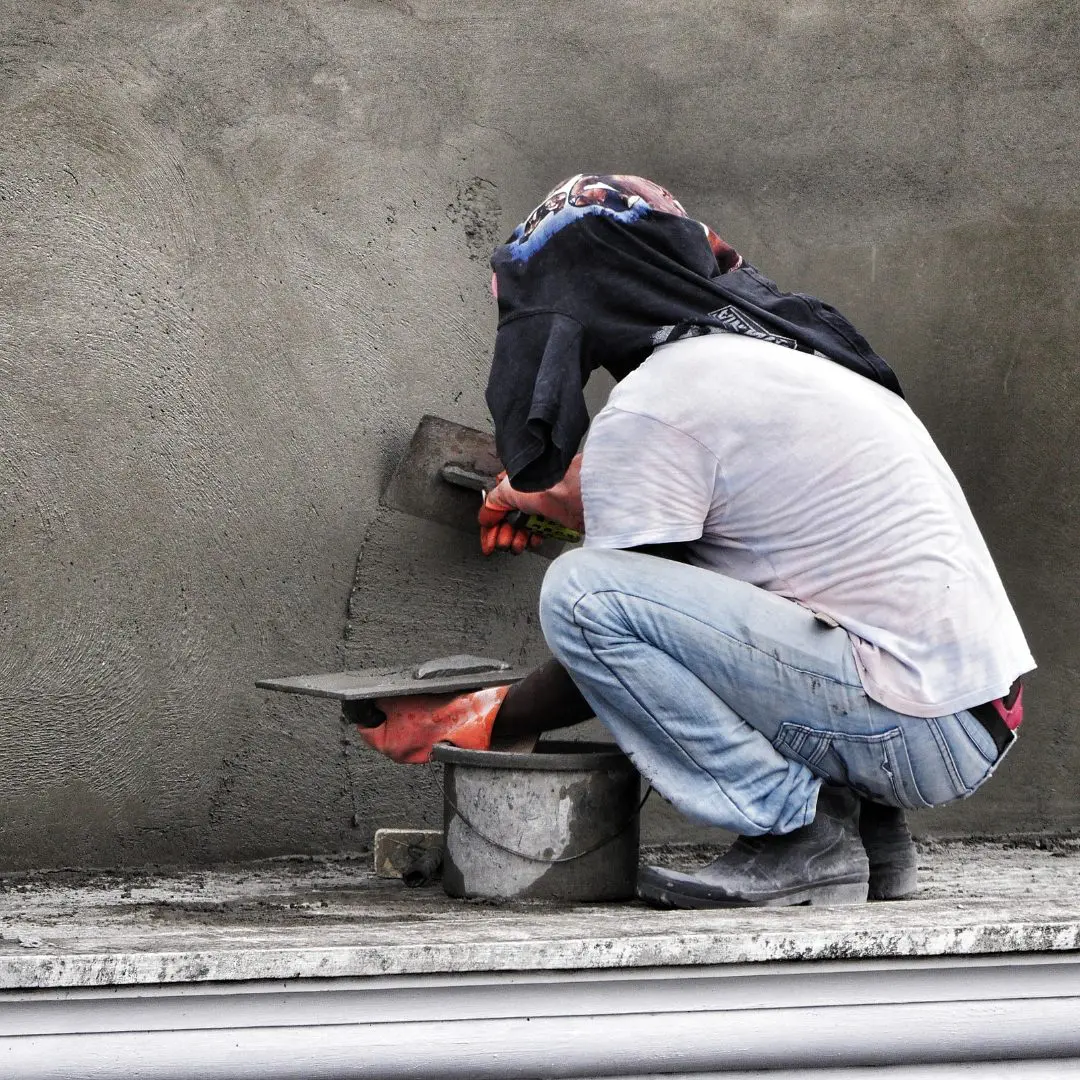
Applying Quikrete: The Step-by-Step Process
Now that you're prepared let’s jump into applying Quikrete!
Step 1: Dampen Your Surface
Before application, mist your walls lightly with water; this helps improve adhesion by preventing rapid drying.
Step 2: Apply the First Coat
Using a hawk and trowel:
Tips:
- Work in sections to maintain control over application.
Step 3: Texture Your Finish (Optional)
If you'd like texture on your wall:
Curing Your Parged Surface
After applying your parging mix:
Hydration Matters
Keep the surface damp by misting it regularly over several days to ensure proper curing—this helps prevent cracking.
Finishing Touches: Painting Your Parged Wall
Once cured, it's time to consider painting! Here’s how:
Selecting Paint Suitable for Exterior Surfaces
Look out for exterior-grade paints specifically designed for stucco finishes like acrylic stucco paint that allows moisture escape without peeling off!
FAQs About Using Quikrete for Parging
Q1: How long does Quikrete take to cure?
A1: Generally, it takes about 24–48 hours before it's ready for light foot traffic but full strength may take up to 28 days.
Q2: Can I apply parging over existing stucco?
A2: Yes! Just ensure that it's clean and free from flaking areas before proceeding with new layers.
Q3: Is professional help necessary?
Q4: What should I do if cracks appear after application?
A4: Evaluate whether they are superficial or structural; minor cracks may be repaired with additional quikcrete while deeper ones might require consulting a masonry contractor.
Q5: How often should I reapply parging?
A5: Depending on environmental factors such as humidity levels and freeze-thaw cycles; typically every 5–10 years is advisable unless significant wear occurs sooner!
Q6: Can I use coloring agents in my Quikrete mix?
A6: Absolutely! Several manufacturers offer color additives specifically made compatible with their products—just follow manufacturer guidelines carefully when mixing!
Conclusion
Achieving an attractive and durable exterior through Using Quikrete for Parging not only elevates your home’s curb appeal but also fortifies its structure against environmental challenges. Armed with this detailed guide—from preparation through execution—you’re well-equipped to tackle this rewarding DIY project confidently! Whether you're undertaking stucco repair or simply refreshing an old façade with modern techniques like acrylic stucco or newer formulations designed explicitly around ease-of-use principles found within brands such as Quikrete—your house painting journey awaits! Enjoy enhancing those walls today!